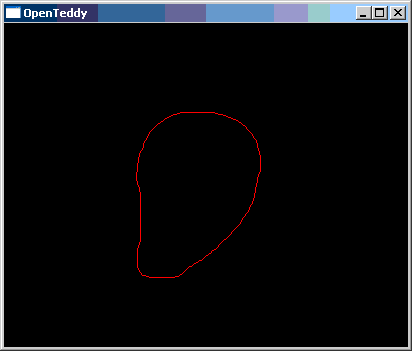
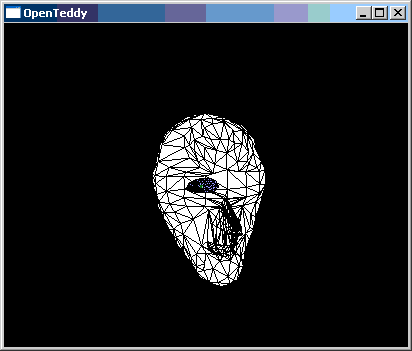
Use the LEFT mouse button to draw as silhouette of the head.
If you make a mistake you can press the ESCAPE KEY in order to cancel the stroke and start over.

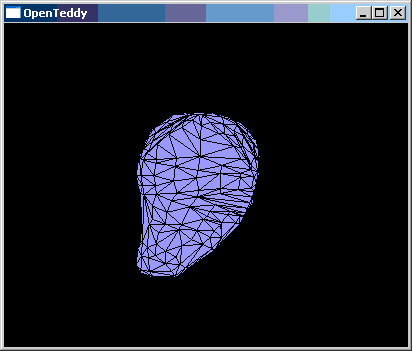
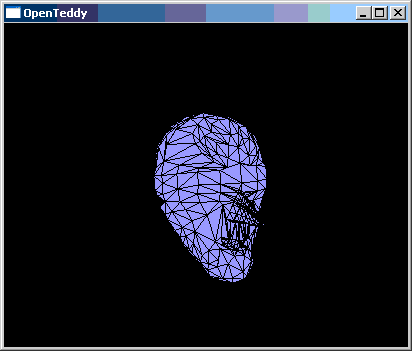
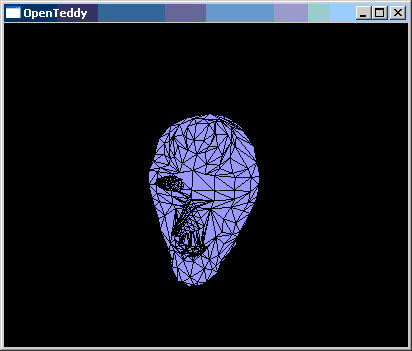
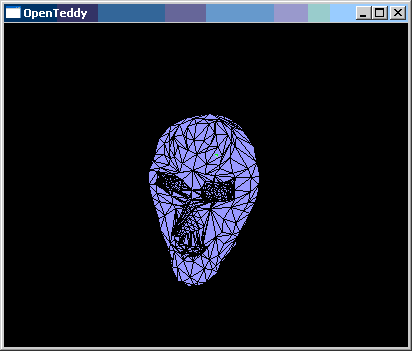
Click the RIGHT mouse button to turn your silhouette into a surface object. Note that the surface is blue- this means that it is currently selected.
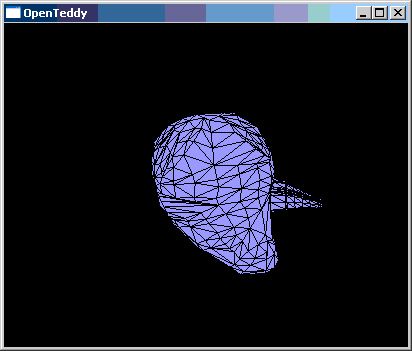
You can inspect your model by holding down the MIDDLE mouse button, and dragging.
If you don't like your model, you can press the BACKSPACE KEY and start over again. This deletes all selected surfaces.
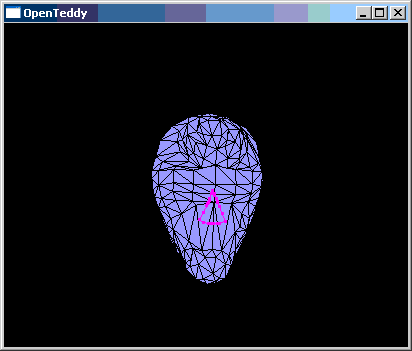
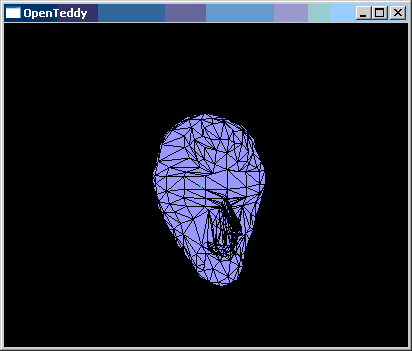
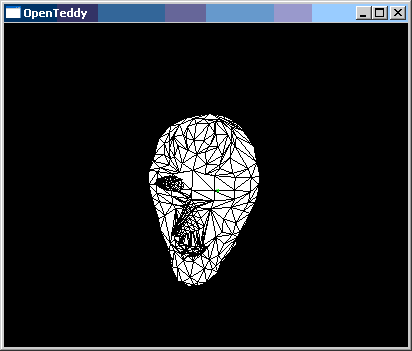
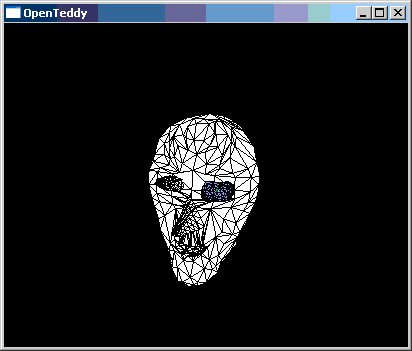
Press the I KEY to simplify the model. In this example the I KEY is pressed twice. This operation currently is somewhat slow.
You can also hold down CONTROL while pressing the I KEY to use a faster, but less accurate simplification method.

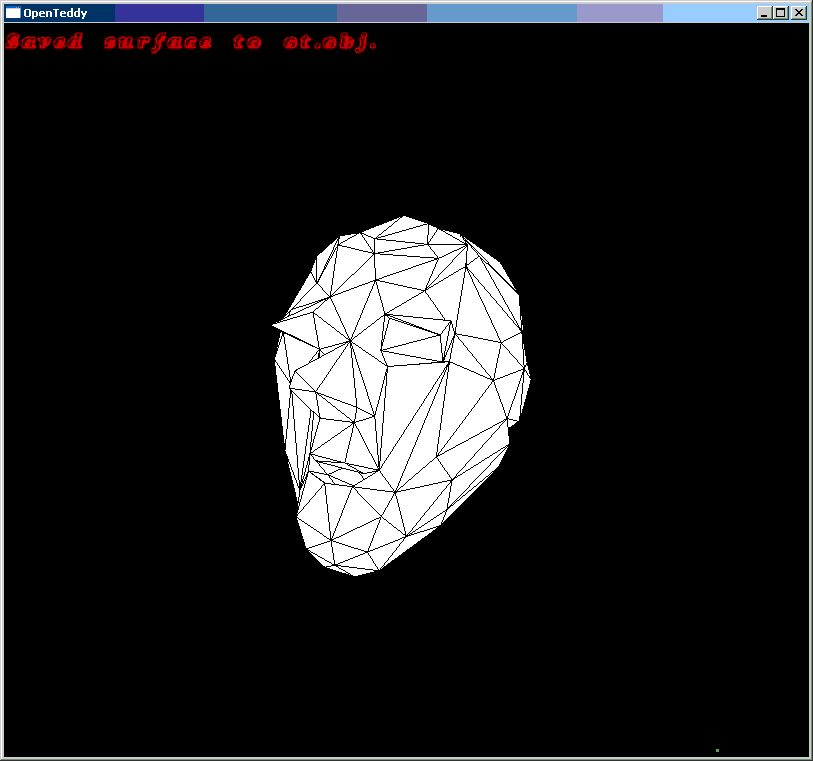
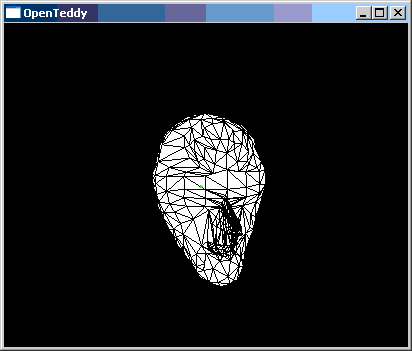
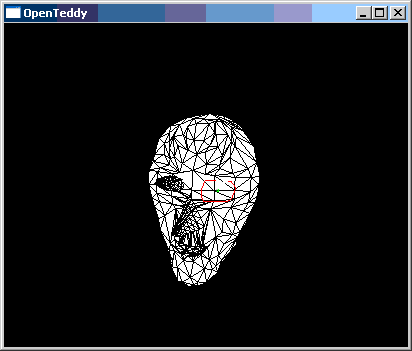
Now, use the MIDDLE mouse button to rotate the head to the front.
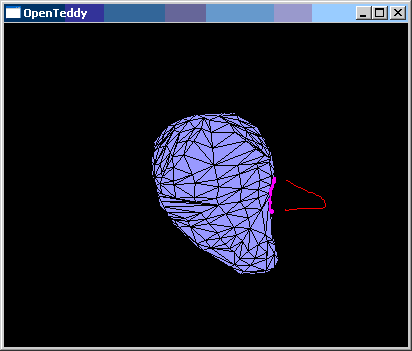
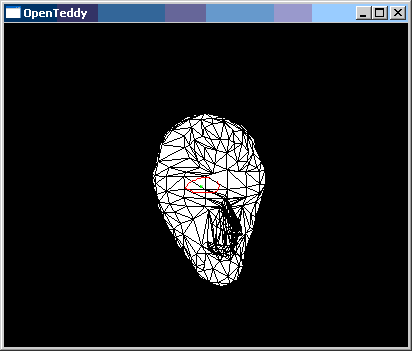
Use the LEFT mouse button to draw a triangle for a nose.
Press the RIGHT mouse button to project your triangle onto the surface. Note that this will only work if one surface is selected (colored blue.)

Starting at a point near the top of the triangle, draw a nose curve with the LEFT mouse button. End the curve near the bottom of the triangle.
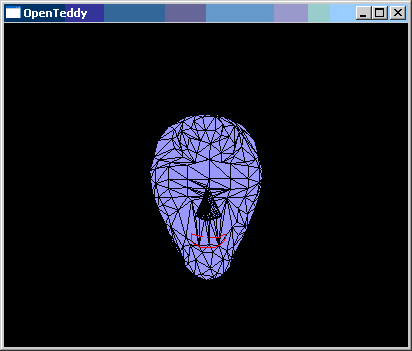

Similar to the nose, draw a curve from the top of the mouth going left, and end near the bottom of the mouth with the LEFT mouse button.
As you can see, this feature allows you to make indentations as well as portrusions.
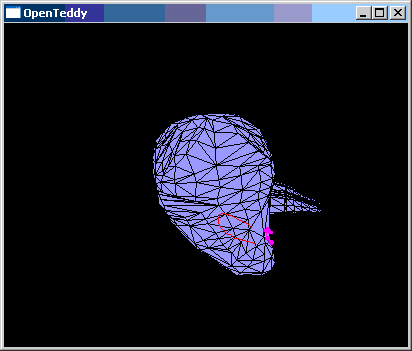
Now, without using the LEFT mouse button (if you have pressed the LEFT mouse button, you can use the ESCAPE KEY to cancel your stroke.) Click the RIGHT mouse button around where you'd like to put an eye.
A green cursor point will appear where you clicked. You can use the MIDDLE mouse button and see that this cursor follows the head around.
Now, we can take all these separate shapes and join them (because they are overlapping.)
With the RIGHT mouse button, click on the other eye. It will turn blue to indicate it is also selected.
With the RIGHT mouse button, click the head. It will also become selected.
Press the J KEY to join all the selected surfaces. They are now one surface.
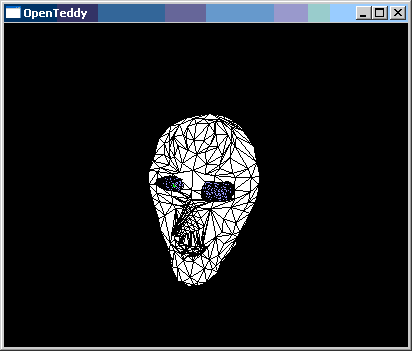
You may want to press the I KEY several times more to simplify the mesh so that it is better prepared for quick rendering if you are using the mesh for example, for a game.